null

Dryer Parts

A clothes dryer is a simple machine at heart: a motor turns a drum on a belt, a heat source warms air, and a blower pulls that air through the clothes and out the vent. When one of those jobs stops getting done, the symptom is usually obvious. The drum won't turn, it squeals or thumps, or the clothes come out cold and damp after a full cycle. The good news is that most dryer failures come down to a short list of wear parts and safety devices that can be replaced without junking the whole appliance.

This category covers the dryer parts we see move across the counter every week: drum rollers, idler pulleys, drive belts, heating elements, thermal fuses, cycling and high-limit thermostats, gas valve coils, igniters, power cords and lint screens. Supco builds replacements for the major platforms, including Whirlpool, Kenmore, Maytag, GE, Frigidaire, Samsung and LG, so techs and capable homeowners can get a unit running again for far less than a new dryer.

The most important rule in dryer repair: match the part to the model number and the OEM part number. Look-alike dryers often use different belts, elements and thermostats.

How a Dryer Works

The drive motor turns a small pulley. A long, flat, multi-rib belt wraps around the drum and loops under an idler pulley, which keeps tension on the belt so it grips the motor pulley. The drum itself rides on rollers at the rear (and on some models, the front), or on glides and a rear bearing, depending on the design. On most platforms the same motor also spins the blower wheel that moves air through the drum.

Electric dryers run on 240 volts. The heating element is a coil of resistance wire, typically rated somewhere in the 4,000 to 5,600 watt range, mounted in a heater box or housing. Gas dryers use a burner assembly: a hot surface igniter glows until a flame sensor (radiant sensor) proves heat, then the sensor opens and the gas valve coils pull the valve open to release gas to the burner.

Temperature control is handled by thermostats and fuses working as a team:

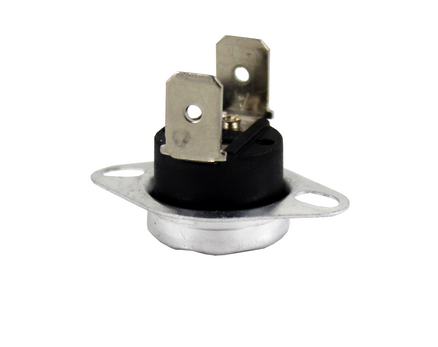
  • Cycling (operating) thermostat: Usually on the blower housing or exhaust duct. It opens and closes to hold exhaust air in a set range, cycling the heat on and off throughout the load.
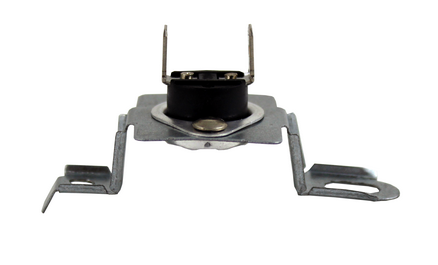
  • High-limit thermostat: Mounted on or near the heater housing or burner. It opens if temperatures climb past normal, typically because airflow is restricted, then resets when things cool.
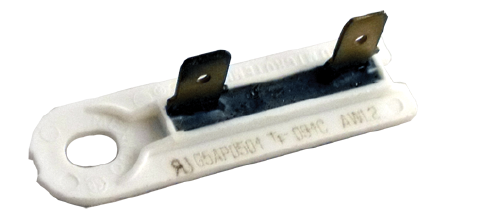
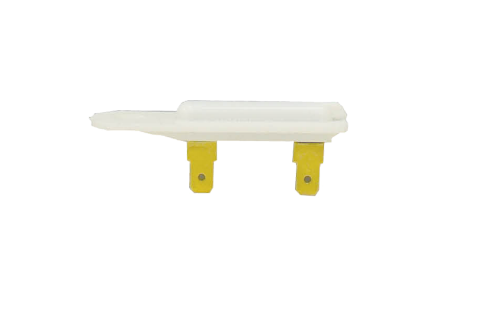
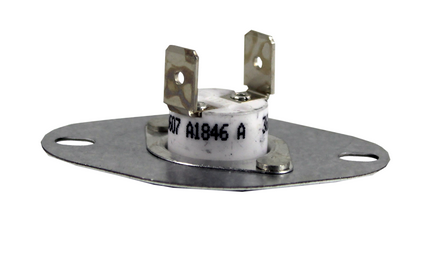
  • Thermal fuse: A one-time safety device. When it reaches its rated temperature it opens permanently and must be replaced. On many models a blown thermal fuse kills the motor circuit as well as heat, so the dryer won't run at all.
  • Thermal cut-off (TCO): Found on many electric heater assemblies. Another one-shot device that opens if the heater overheats.

Signs a Dryer Part Is Failing

Dryer symptoms point to specific parts more reliably than most appliances. Use this as a starting point, then confirm with a meter before ordering.

  • Squealing, chirping or a rhythmic thump: Worn drum rollers or a seized idler pulley. Rollers develop flat spots and the drum starts thumping; a dry idler bearing squeals, especially at startup.
  • Motor runs, drum doesn't turn: Broken or stretched belt, or an idler that has lost its spring tension.
  • Drum turns, no heat (electric): Open heating element, blown thermal fuse or TCO, or a failed high-limit. Check element continuity first; an open coil is common.
  • Drum turns, no heat (gas): Igniter glows but no flame usually points to weak gas valve coils, especially when the dryer heats once and then fails as it warms up. No igniter glow points to the igniter, a thermal fuse, or a flame sensor problem.
  • Dryer won't start at all: On many models a blown thermal fuse, a failed door switch, or a burned power cord connection at the terminal block.
  • Clothes take two or three cycles: Almost always airflow. A clogged lint screen, crushed transition duct or packed exhaust vent makes the dryer run hot at the heater and cool at the clothes, and it cooks thermostats and fuses along the way.
  • Scorched smell or discolored terminals: Inspect the power cord terminals and terminal block immediately. Loose connections there overheat and can melt the block.

A key point for anyone replacing a thermal fuse: fuses blow for a reason. If you replace one without clearing the vent and checking the cycling thermostat, expect the new one to fail too.

How to Choose the Right Replacement

Start with the model and serial tag. On most dryers it's inside the door opening, on the door frame, or on the back panel. Then find the OEM part number either from the old part itself or from the manufacturer's parts breakdown for that model. Supco product pages list the OEM numbers each part replaces, which makes cross-referencing straightforward.

  • Belts: Match the OEM number. Dryer belts vary by length and rib count, and a belt that's even slightly off will slip or overload the idler.
  • Rollers and idlers: Match shaft size and roller diameter, and note whether the model uses rear rollers only or front and rear. Replacing rollers as a set, along with the idler and belt, is standard practice on high-mileage machines.
  • Heating elements: Match the OEM number, voltage and wattage. Element resistance is typically somewhere around 7 to 12 ohms on common 240V units, but the right value is whatever the manufacturer specifies for that model.
  • Thermostats and fuses: These are rated by temperature and function. Never substitute a different temperature rating, and never jump out a safety device.
  • Gas valve coils: Coils are usually sold as a set (secondary and booster/holding coils). Replacing both at once is the norm.
  • Igniters: Match the shape and connector. Round and flat-style igniters are not interchangeable.
  • Power cords: Electric dryers need either a 3-wire or 4-wire cord matched to the home's receptacle (NEMA 10-30 or NEMA 14-30), rated 30 amps. Gas dryers use a standard 120V cord.
PartCommon SymptomHow to VerifyReplace With
Thermal fuseNo heat or no start (model dependent)No continuity across terminalsExact OEM temperature rating
Heating elementDrum turns, no heat (electric)Open coil; resistance out of specSame OEM number, voltage, wattage
High-limit thermostatNo heat, or heat cycling off earlyOpen at room temperatureSame OEM number and rating
Cycling thermostatOverheating or underheatingOpen at room temp, or tests out of rangeSame OEM number and rating
Gas valve coilsIgniter glows, no flame, often intermittentCoil resistance out of spec, or fails when warmMatched coil set
IgniterNo glow on gas modelNo continuity; visible crackSame shape and connector
Drum rollers / idlerSqueal, thump, grindingFlat spots, rough or seized bearingMatched set with belt
Drive beltMotor runs, drum stillBroken, glazed or stretchedExact OEM belt

Installation and Safety Tips

  • Disconnect power first. Unplug the dryer or turn off the breaker before removing any panel. An electric dryer's 240V circuit is a serious shock hazard.
  • Gas dryers: shut off the gas. Close the appliance shutoff valve before servicing the burner, valve or coils. Gas valve and burner work should be done by a qualified appliance technician, and all gas connections must be leak-tested with a proper solution after any disturbance. If you smell gas, leave the area and call the gas utility.
  • Photograph wiring before you disconnect. Thermostats and fuses often sit close together with similar terminals.
  • Handle igniters carefully. Hot surface igniters are brittle. Don't touch the element with bare fingers and don't overtighten the mounting screw.
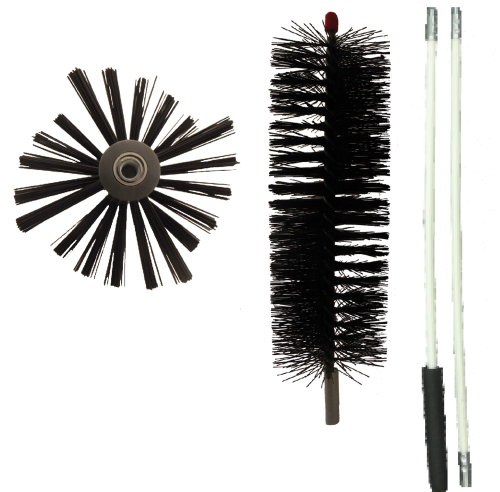
  • Clean the vent every time. Lint buildup in the exhaust is a leading cause of dryer fires. Use rigid or semi-rigid metal duct, keep runs short, and replace any vinyl or foil transition hose.
  • Cord installs follow code. When converting between 3-wire and 4-wire, the neutral-to-frame bonding strap must be configured per the manufacturer's instructions. If you aren't sure, have an electrician or appliance tech handle it.
  • Never bypass a thermal fuse or thermostat. A jumper wire on a safety device is how dryer fires start.

Part Details & Shipping

HVAC365 stocks Supco dryer parts because Supco has made dependable replacement components since 1945, built to match OEM fit and function. Each product page includes OEM cross-reference numbers and spec details so you can confirm the match before you order. Dryer parts in this category ship in 3-5 business days, which gets a down machine back in service fast.

Frequently Asked Questions

Why does my dryer keep blowing thermal fuses?

Restricted airflow is the usual cause. A clogged vent, crushed duct or blocked lint housing traps heat until the fuse opens. A cycling thermostat that sticks closed or a heating element shorted to the housing can also do it. Clear the full vent run and test the thermostats before installing a new fuse.

Should I replace the rollers, idler and belt together?

On a dryer with several years of use, yes. Once the cabinet is open, the extra parts cost little compared to the labor of opening it again, and worn components fail on a similar timeline.

My gas dryer heats for a few minutes and then stops. What's wrong?

That pattern classically points to weak gas valve coils that fail once they warm up. The flame sensor and the high-limit thermostat are other suspects. Because this is gas work, have a qualified technician diagnose and replace the coils.

How do I know which power cord I need?

Look at the wall receptacle. A three-slot receptacle uses a 3-wire cord (NEMA 10-30); a four-slot receptacle uses a 4-wire cord (NEMA 14-30). Newer installations generally require 4-wire. Gas dryers use a standard 120V cord.

Can I use a universal heating element?

Only if it is specifically listed as replacing your OEM number. Element shape, wattage, resistance and terminal layout must match. Ordering by the OEM number is the safest route.

Is a torn lint screen worth replacing?

Yes. A torn screen lets lint into the blower and vent, cutting airflow and raising fire risk. Match the screen to the model, since frame shapes vary.

Compare
Show: 12 24 48

Fast Shipping

Easy Returns

Warranty Coverage

Financing Available